The first place I decided to start (after removing the strings and the remnants of the bridge) was removal of the back. This wasn't very hard considering the back was split in two, and most of the joint between back and sides was already coming apart! And not only was the back coming off, but all of the back braces were also loose.
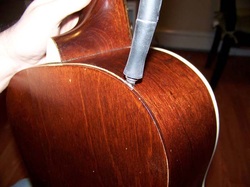
The couple spots of the back that were still glued came apart with a little help from an Exacto knife.
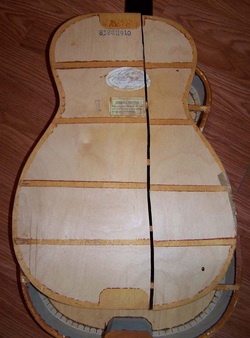
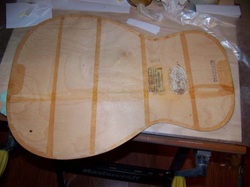
Here's the badly damaged back. Needs a little TLC if you ask me!
One of the labels on the guitar reads: "This guitar is designed for use only with Nylon or Gut strings. Do not use steel strings." I guess the previous owner ignored that warning by the looks of the bridge and how it was ripped apart!
There's also a date code stamp indicating this guitar was built first half of 1966. This is a 45 year old instrument - cool!
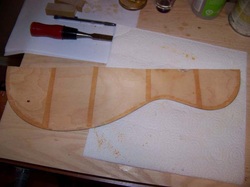
It appears that the company used two different glues to put this guitar together. The kerfing for example seems to be a more yellowish to clear colour. The braces, back, and top are glued using a gross looking goopy, reddish brown glue. I carefully used a chisel and sandpaper to remove as much glue residue as I could from the back as well as all the braces.
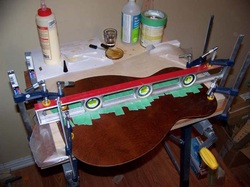
I put wax paper on a flat surface. I then put some Titebond glue along the crack in the back. I carefully joined the broken pieces together, and worked more glue into the joint, wiping up the mess with a damp paper towel. Then I used masking tape to provide some pressure to hold the two halves of the back together. Once everything was taped together, I clamped my level on top of the joint to keep it flat.
After the glue dried, I reluctantly tested the joint by flexing the back both with and against the grain. It didn't break so that's good!
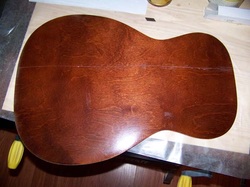
My repair will be visible on the outside, but considering what the guitar looked like before, I think this is quite an improvement!

I sanded the surface of the sides, neck/tail blocks, and kerfing to remove glue residue. I also examined the rest of the guitar's structure. Unlike the back, the top appears to be completely solid at both support blocks as well as all around the sides. Neck seems to be solid too! I originally thought I would try to take the top off and reglue as well, but if it ain't broke, I guess there's no point in fixing it! 2 out of the 4 braces are loose, so I will try to reglue those.
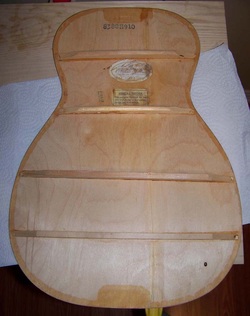
It took me an afternoon to reglue all of the back braces. I know what you're thinking.... I got all the braces crooked! I glued the braces up exactly as they were from the factory, which apparently was quite crooked. I doubt it was designed that way, but I thought I'd keep the guitar as original as possible - even the crooked braces!
