|
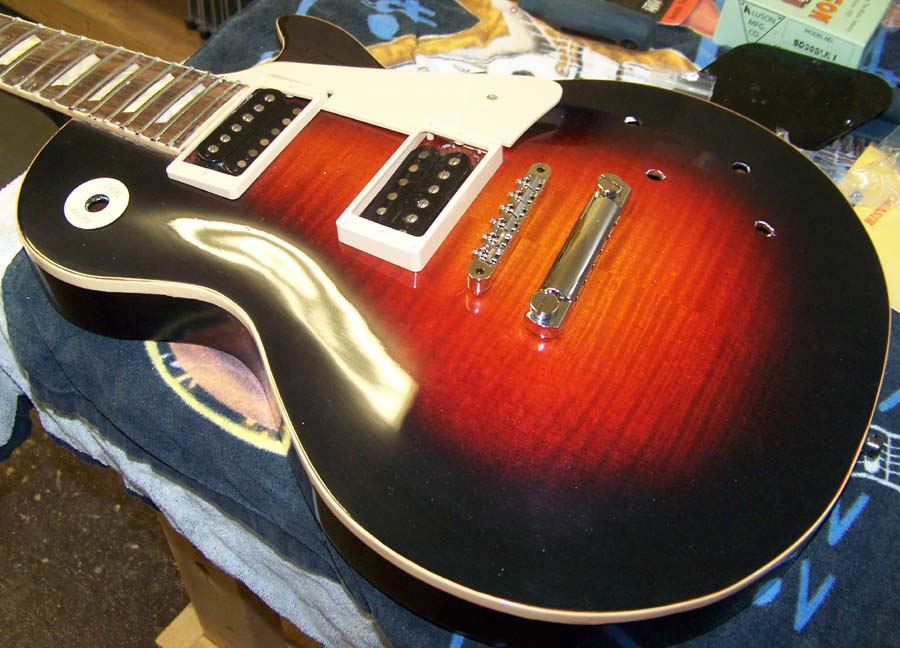
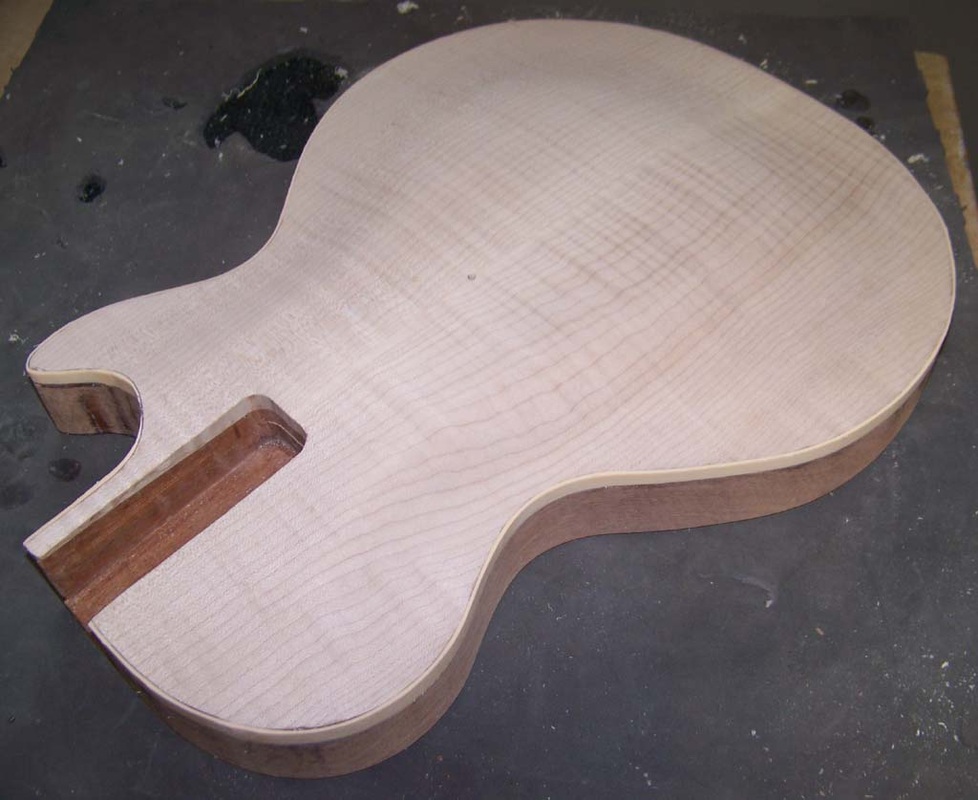
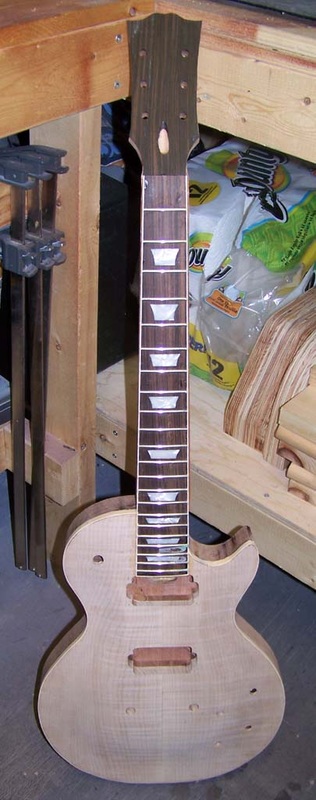
So I'm finally calling this guitar ready for final sanding and finishing! I've made a few mistakes on this guitar, but it has been learning experience. Hopefully the neck one will be better yet! Neck is shaped, and I had a few things to fill on the body. Next I will be doing the final sanding, and then on to finishing. The plan is to do a dark sunburst. 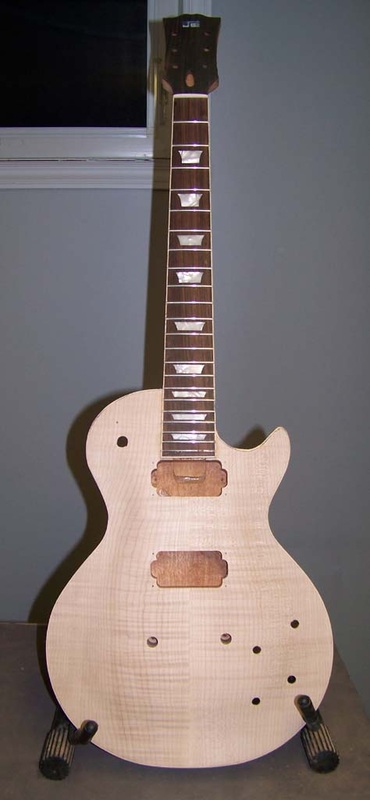
Once again this project was on hold for a while. I've had a number of setbacks with this guitar. The first time I tried to cut the binding channels, I messed them up. I had to order another bigger piece of binding and try again! When cutting a larger binding channel to cover my mistakes, I forgot that I had already drilled out a spot for the jack which means the binding cutter cut into the top. I patched it with a piece of maple but its quite visible. I think a dark sunburst should cover it up. Most of the bind turned out alright but I did end up with a couple of gaps and a crack in the binding in the cutaway. I should be able to melt some extra binding in acetone and touch up these spots (at least I hope so!) 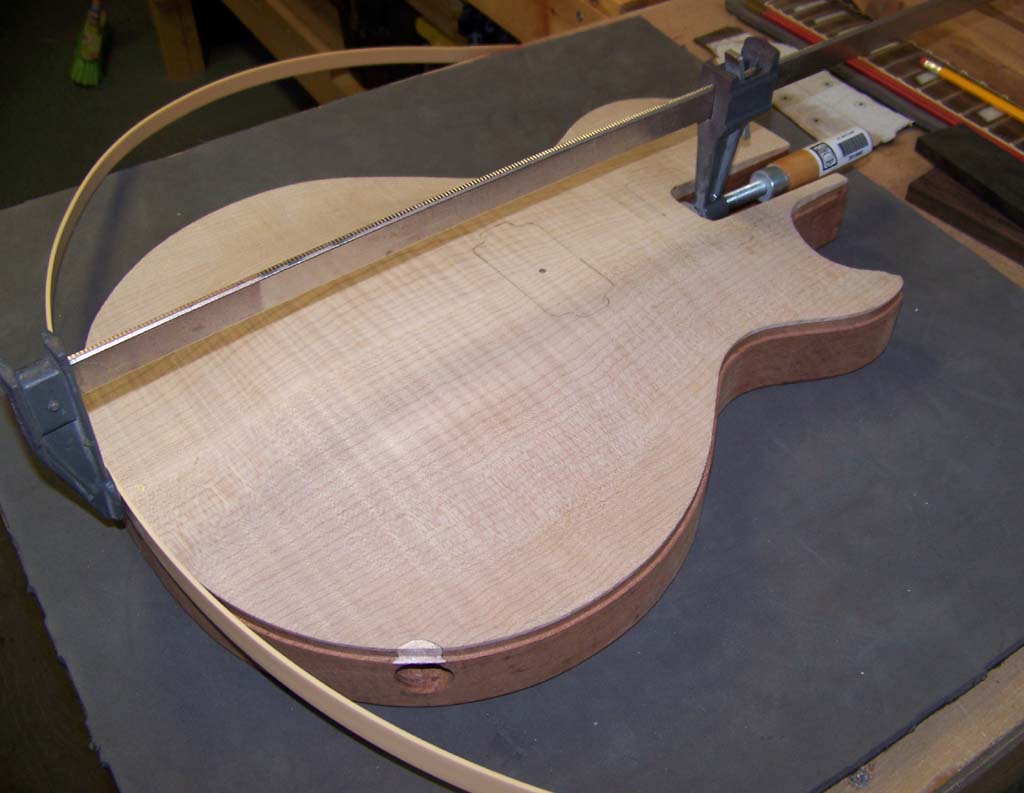
 I glued an ebony veneer on the headstock and roughed in the shape and tuner holes. I drilled the holes in the body for the switch, knobs, and tailpiece and then glued in the neck. After gluing in the neck, I routed the pickup cavities (not to vintage specs but they turned out nice). Installed the trussrod and then glued on the fretboard. Its finally looking like a guitar!!! 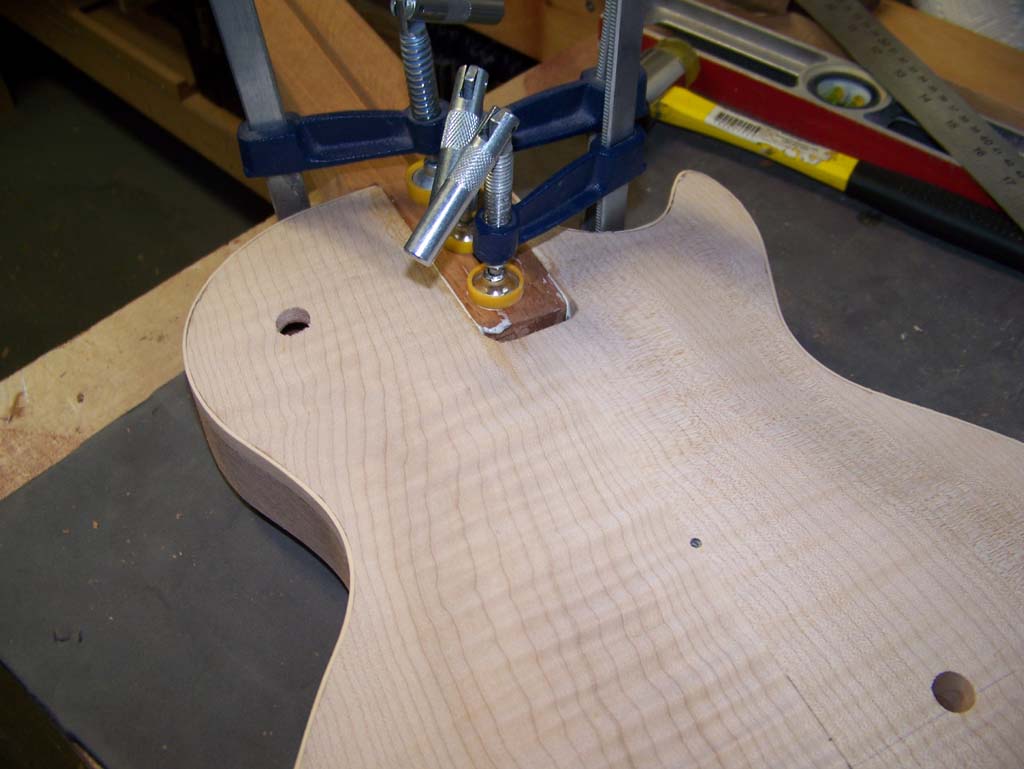
So after a bit of a break from this project, I'm back at it again! I made a new fretboard from scratch, new inlays frets and binding. The test fit with the rest of the hardware looks great. Looking better! 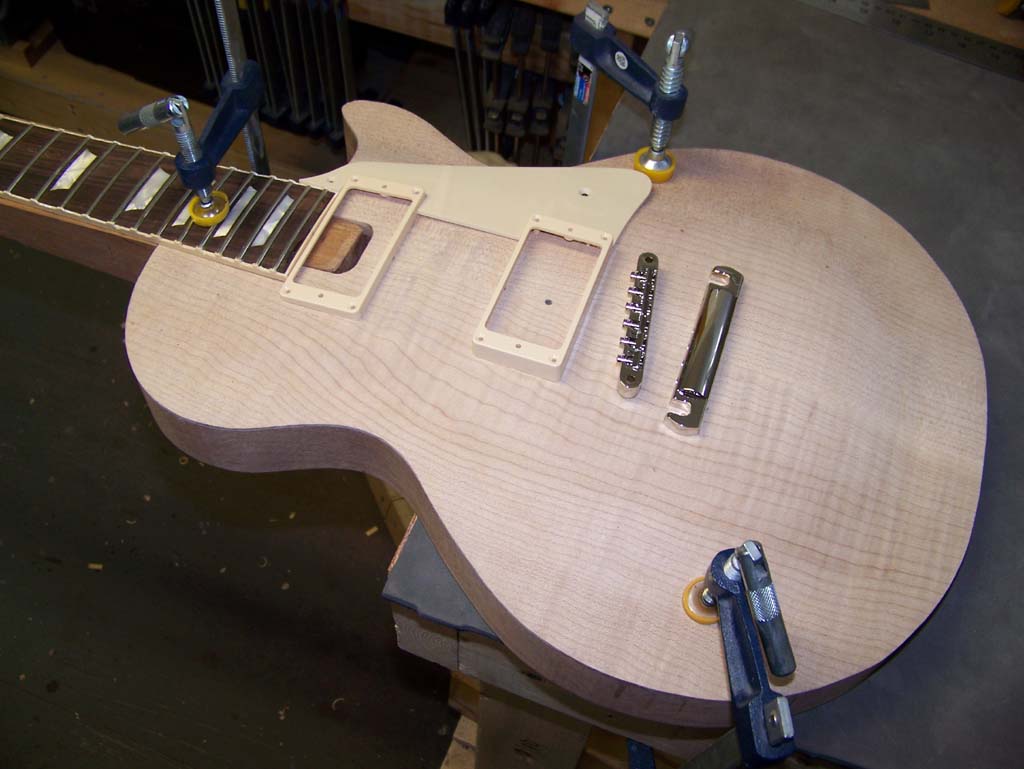
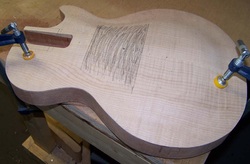 Next I finalized the top carve. I previously planed the neck angle into the top. I was shooting for a little more then 4 degrees. The pickups are on a plane that is 1.5 degrees, so using a protractor and a little math I figured out where this plane needed to be and marked it out with pencil. Then I used a block plane to carve this part of the top. Then using 2 different curved bottom planes I did some more carving of the top until I was happy with the contours. I smoothed out the carve with my random orbital sander with 80 grit paper. It needs more fine sanding but I think the top is looking great. Next will be the pickup routing and binding! 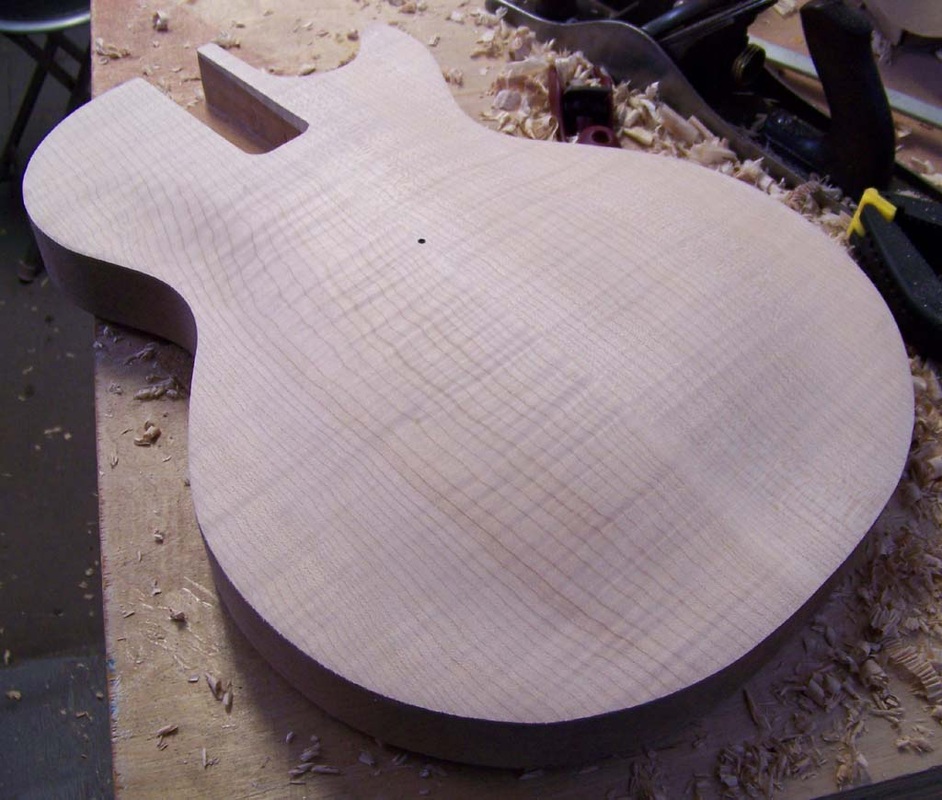
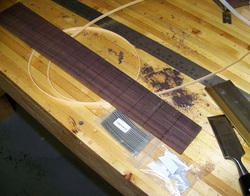 So I'm finally getting back to this project. I selected another piece of rosewood and cut the fret slots yesterday. I have a new piece of binding, new frets, and new inlays. Hopefully I won't mess up the fingerboard this time!!! More progress soon I hope!
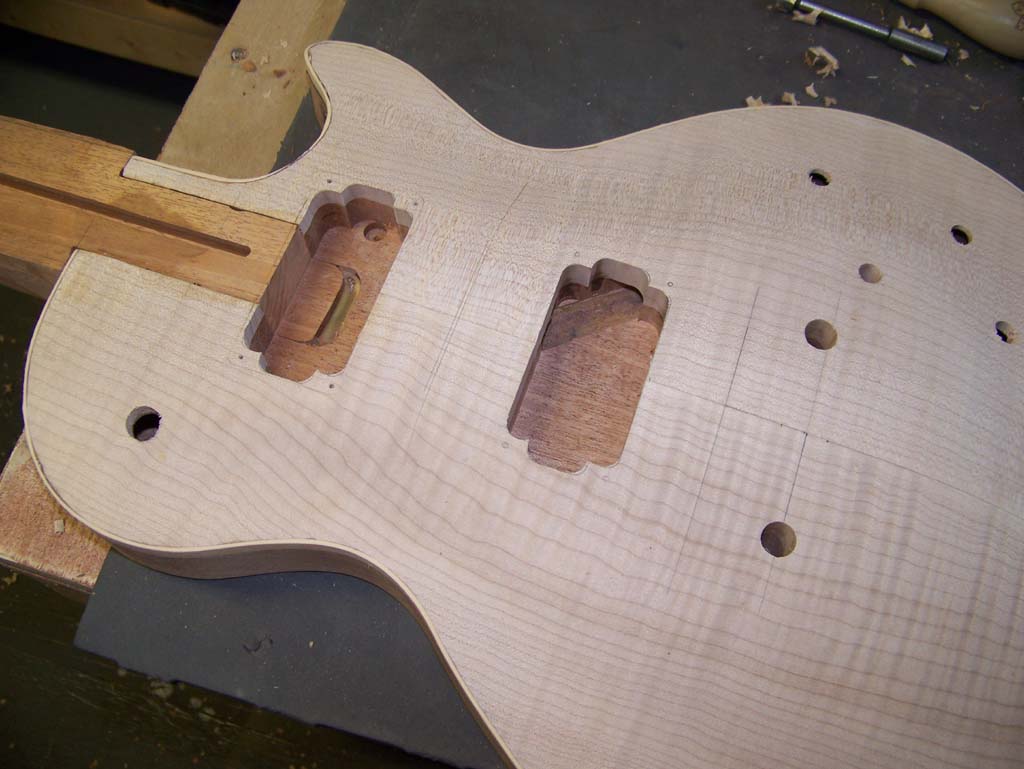
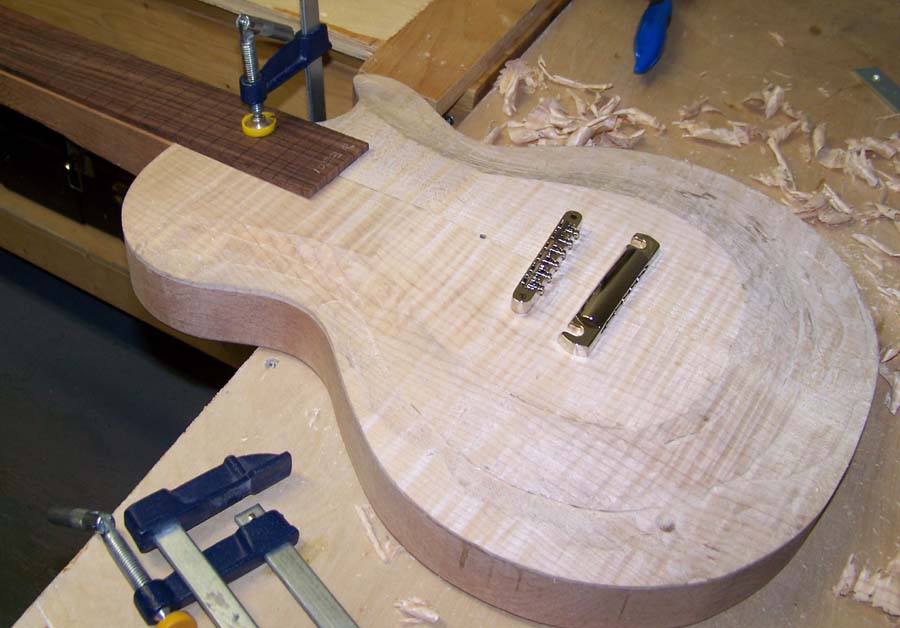
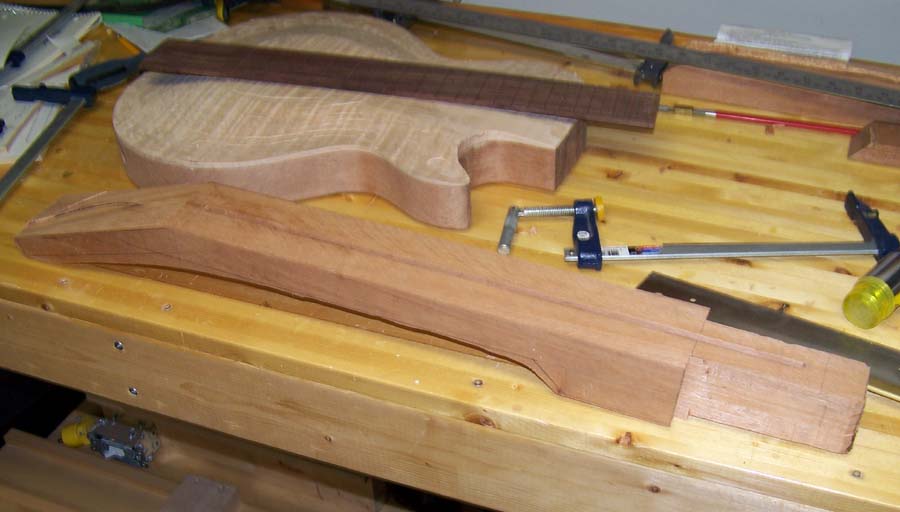
I guess all luthiers and wannabe luthiers make mistakes, but I have no idea how I missed this one! After inlaying the fretboard and installing frets and binding, I laid out the neck and hardware to begin figuring out the pickup routes. Do you see a problem in the picture below? You see that big gap between the end of the fingerboard and the neck pickup ring? That's because I had a stupid moment and cut the fingerboard to have 21 frets instead of the 22 a LP has..... so it looks like I have to make a new fingerboard. Maybe I can use this one on another project. Needless to say I was quite mad at myself about this mistake! 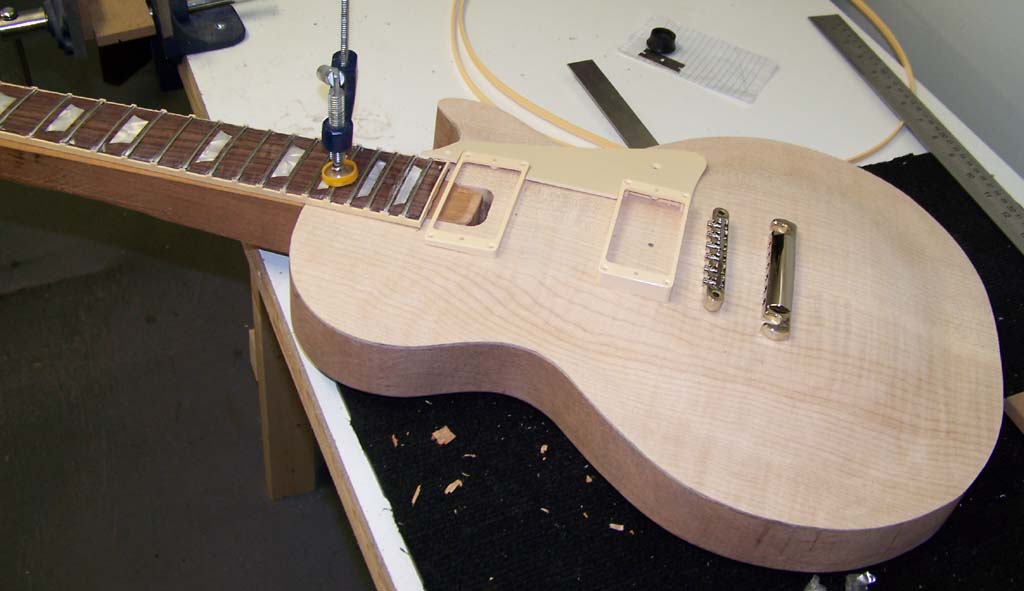
Over the past couple days I inlaid the fingerboard, installed the frets, and currently gluing the fretboard binding. Its fun seeing a guitar take shape! 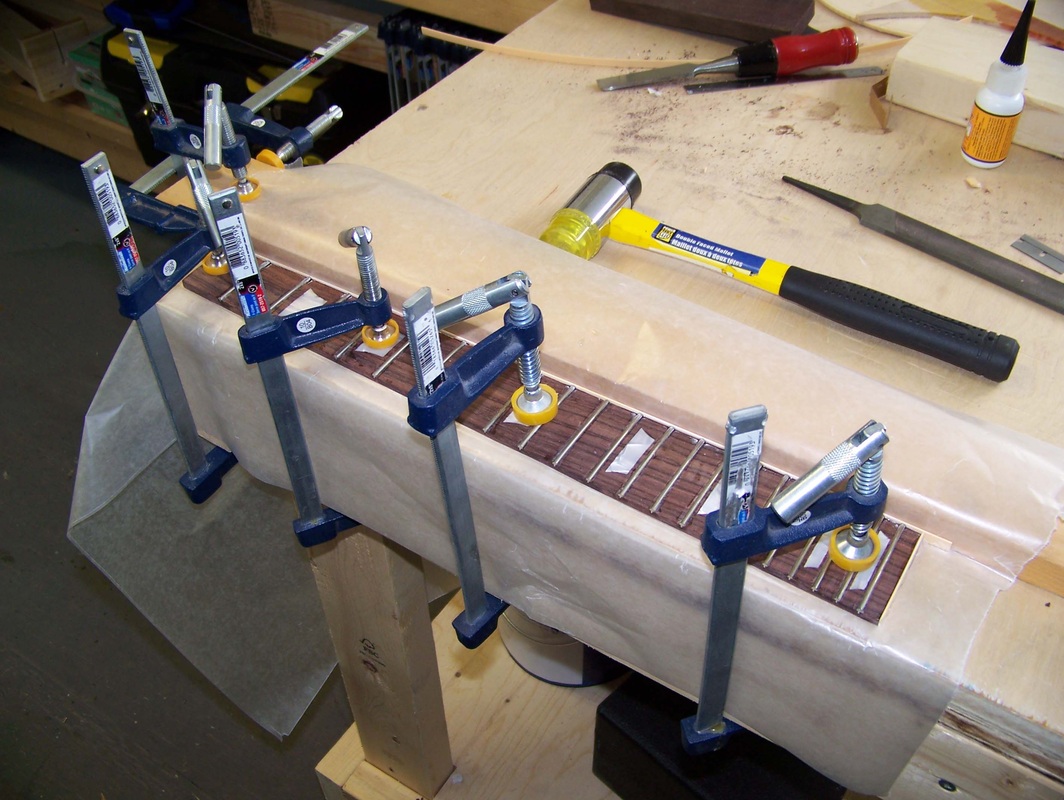
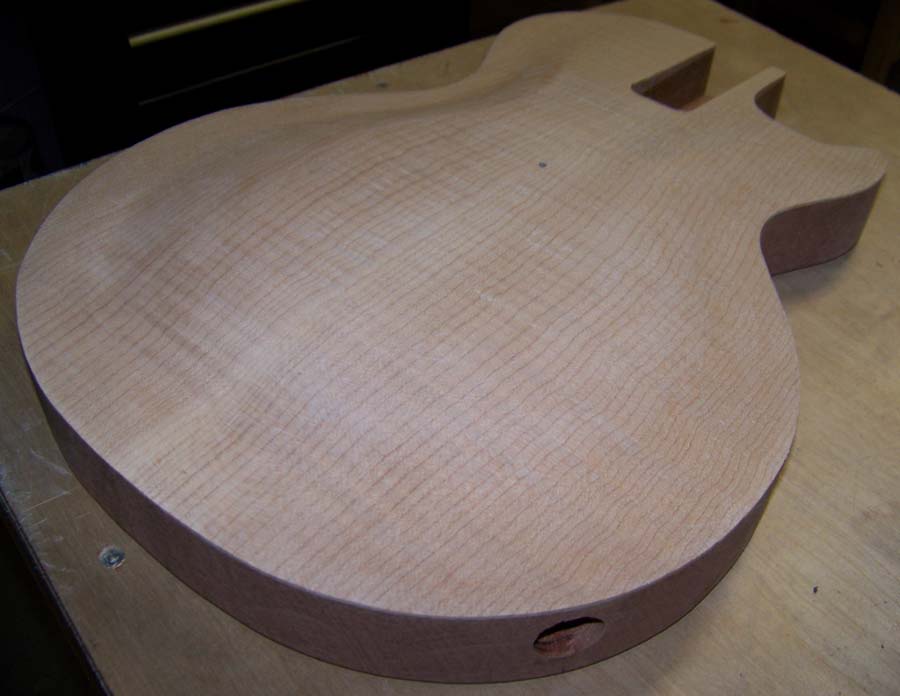
Today I went at the LP body with my random orbital sander and some 60 grit sandaper. The top carves are looking a bit better. Still need to do some more work but thought I'd post a couple quick pics of the top. I think the flame in this top will look nice under a finish! 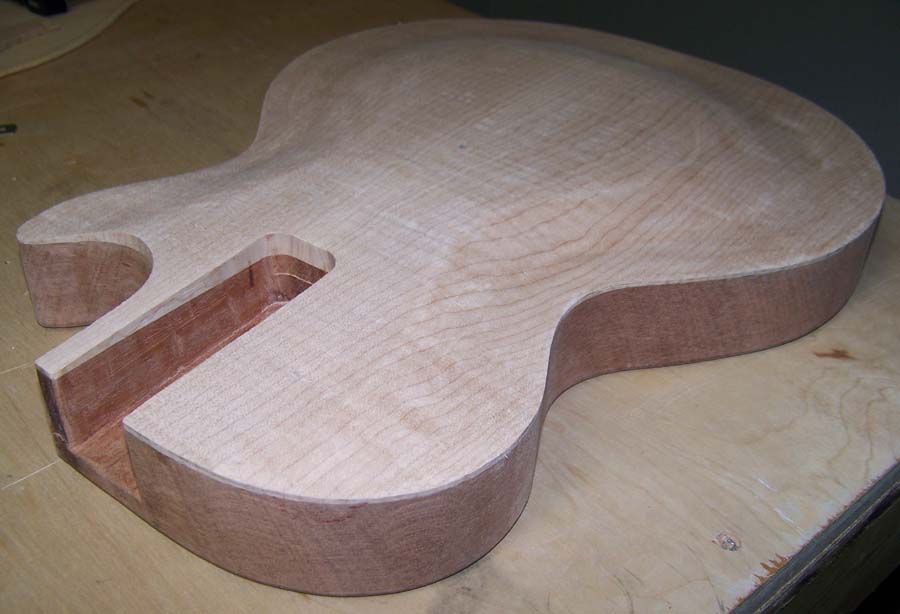
I made up a template out of MDF and routed the neck pocket into the body. I had some difficulties, mostly due to cheap router bits and inexperience using power tools, but it turned out well. 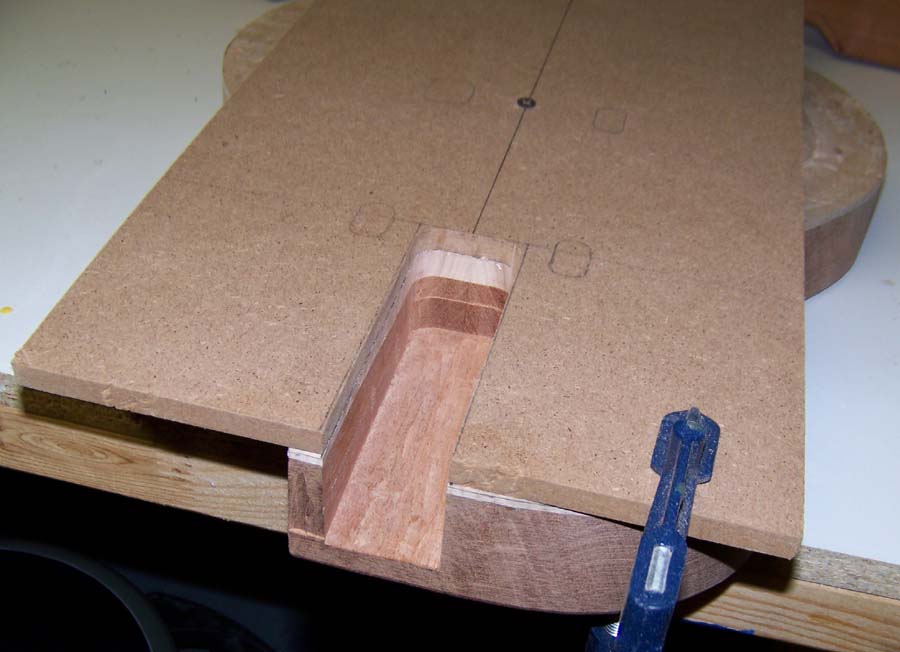
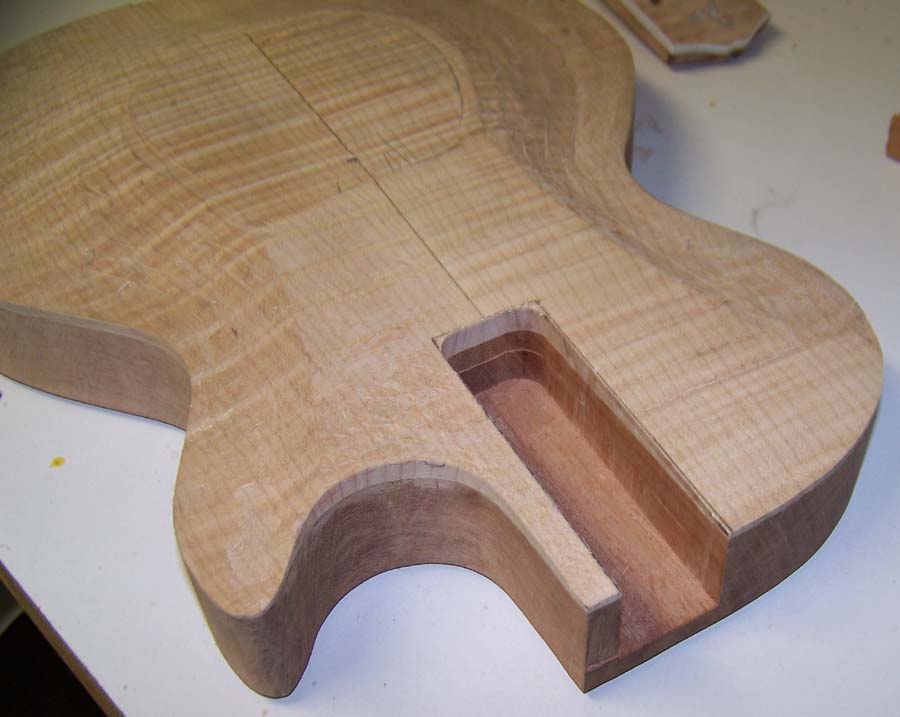
I routed the neck pocket slightly undersized so that I could work the neck tenon down to a tight fit. It took me a while to do it but eventually I got a good fitting neck. Its not as perfect as I'd like, but still good. And he neck is centered nicely too! 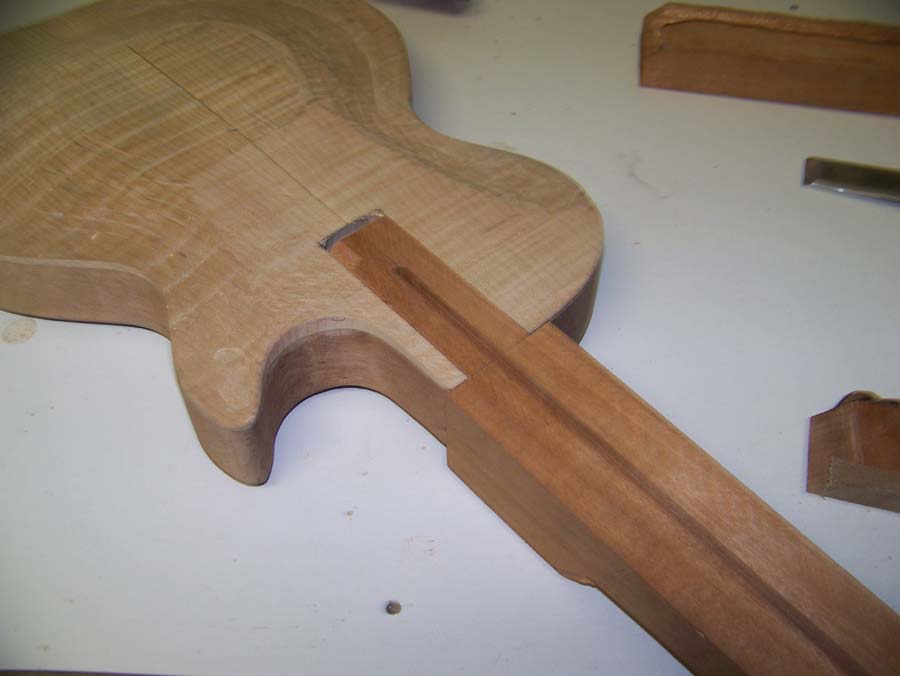
My maple top was still a bit too thick, so I planed the rest of the top to the proper thickness. The top of a Les Paul as I understand it actually has 2 angles in it. The neck plane sets the neck angle (between 4 and 4.4 degrees), but then the pickup plane goes from the neck pickup to the bridge and is about 1 to 1.5 degrees. I now have the neck angle done, and the thickest point of the maple top. This thickest point is the level my bridge will be at, so I mocked up the bridge and tailpiece to see if my neck angle will be good, and its just about perfect! Next I will plane in that 1 degree pickup plane and route the pickup cavities, as well as smooth out the top contours! 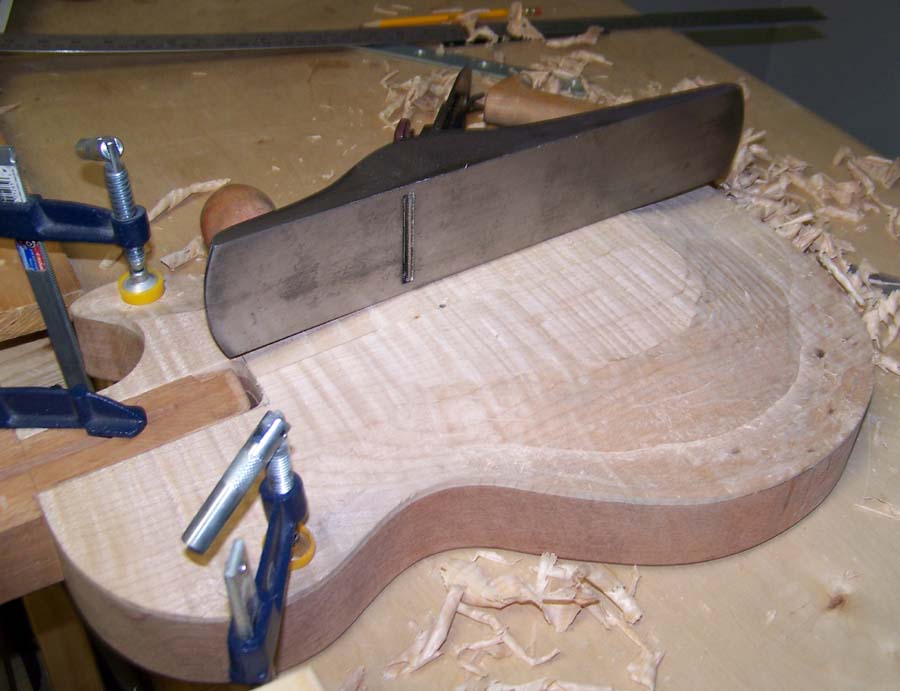
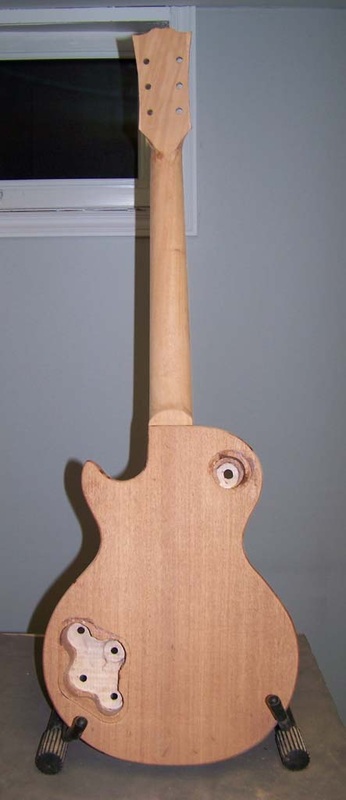
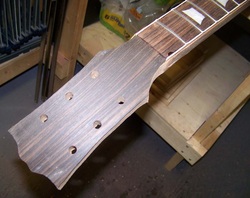
 My neck blank wasn't wide enough to make the headstock without gluing on ears so I used scrap that I cut out of the blank. Next I will thickness the headstock, shape it, and install the trussrod. I haven't decided on a headstock veneer yet. I'll update again soon when I have more done!
Just a little update on the LP build. I've done some work on the neck. First I laid out all the neck dimensions on my neck blank, then routed the truss rod slot. I'm using a Stewmac HotRod on this build, same as my maple L-0. I'm also planning on using a Stewmac rosewood fingerboard that I got off E-Bay. Then I roughed out the neck blank and the tenon. I'll have to glue some ears on to the blank for the headstock. 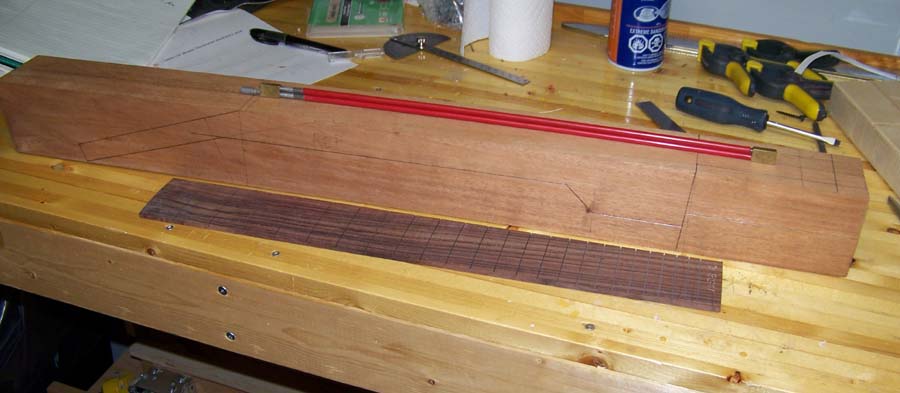
On the body, I used hand planes to carefully plane the neck angle to the top of the guitar, then marked out the neck tenon route location. I guess that's it for now! 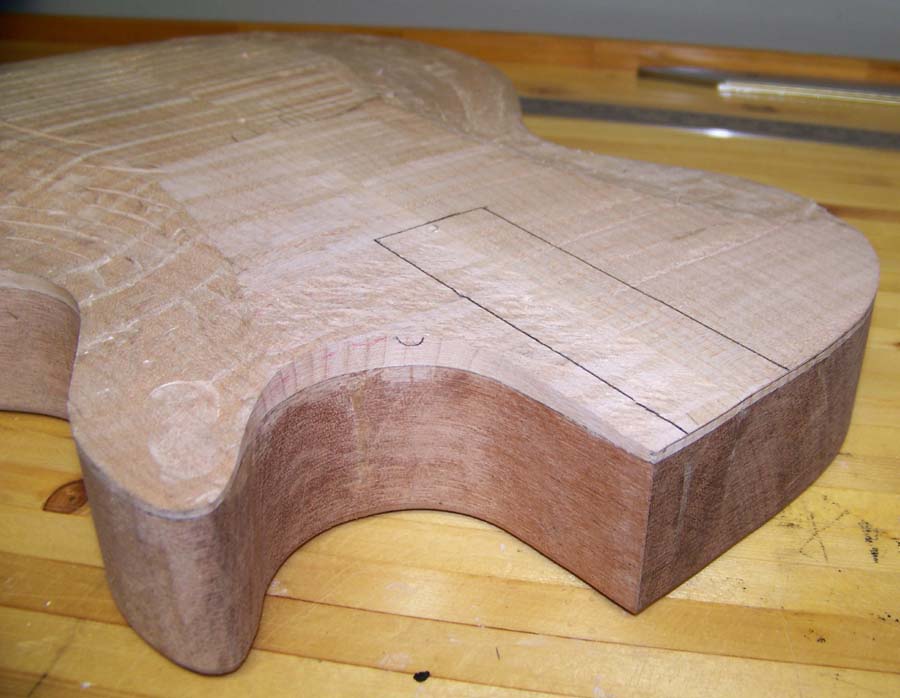
|
Archives
January 2015
Categories |
 RSS Feed
