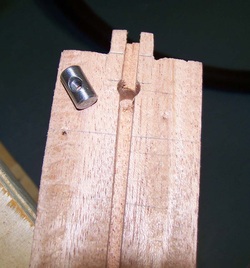
Earlier in the week my stuff from Stewart Macdonald came in so I was excited to start on the trussrod! Shown to the left is the trussrod anchor and its hole drilled in the heel of the neck.
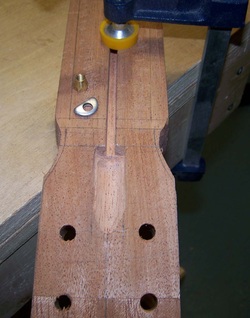
At the headstock end, I carefully carved out the truss rod adjustment cavity using a small chisel and smoothing it out with a sanding drum on my Dremel. In the pic you can also see the washer and adjustment nut.
Right after this was when I ran into problems. The thread cutting die I ordered from Stewmac wasn't very good and I could not for the life of me cut a thread on my steel rod. I have to get a new die and my dad has come to the rescue and will be shipping me one!
Right after this was when I ran into problems. The thread cutting die I ordered from Stewmac wasn't very good and I could not for the life of me cut a thread on my steel rod. I have to get a new die and my dad has come to the rescue and will be shipping me one!
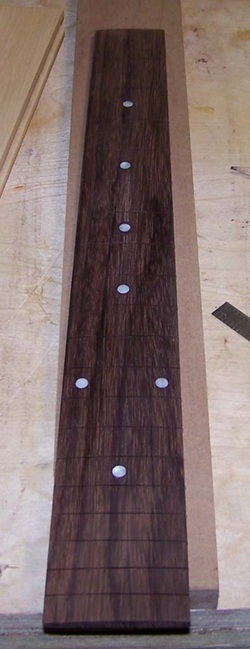
In the meantime I finished my fingerboard. I planed and sanded it to thickness, then used a 12" radius sanding block to radius the board. Then I drilled holes and installed the pearloid position marker using CA glue. The board turned out great and is ready to fret!
 RSS Feed
