I got a new bridge of Ebay that looked almost identical to the original bridge. Only difference is its slightly wider, but thats a good thing - more gluing surface should keep it from ripping off again right!?
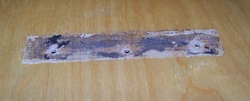
Time to clean up the footprint of the bridge so I have a fresh new surface to glue to! I used a chisel and razor blade to remove most of that old glue and wood.
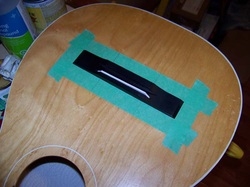
I used a long straight edge to center up the bridge and ensure I have the correct location. Then I taped off around where the bridge will sit.
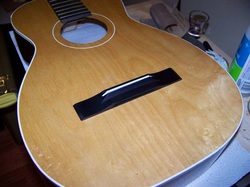
A nice new surface to glue the bridge to!
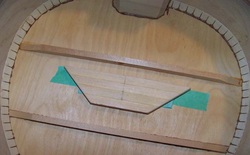
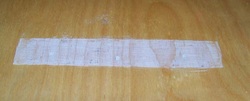
I taped off the holes in the top, and then located a wooden clamping caul (which is actually meant for my Martin kit guitar) underneath the bridge location.
I taped off the front and side locations of the bridge so I know where the bridge is supposed to be located when I start gluing.
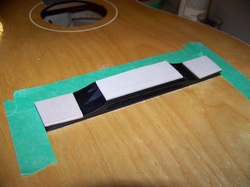
I then cut a couple small pieces of thin wood to protect the bridge when I start clamping.
I then cut a couple small pieces of thin wood to protect the bridge when I start clamping.
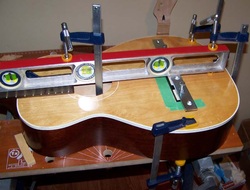
My clamping methods may always be off the wall but at least they work! What you can't see in this picture is that I have a piece of wood clamped to the inside surface of the top so that I am putting pressure on both sides of the bridge.
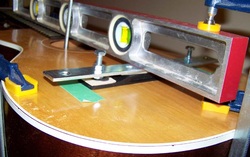
That little piece of metal applies pressure across the top of the bridge, and I used a screw and nuts to apply pressure to the wings of the bridge which are thinner then the rest of the bridge. Its a crude setup but it worked! I'm glad it worked because this is much the same as the setup I'll be using on the Art & Lutherie as well as my Martin kit!
