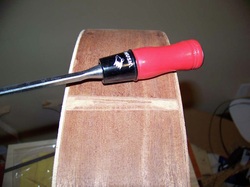
The next thing I decided to do was install the end wedge. I marked the location where it would be inlaid into the tail end of the guitar, then I used a Dremel and chisel to clean out all the material.
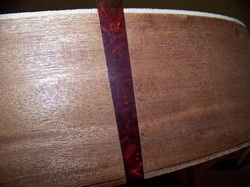
I used thick gap filling CA glue to glue the wedge in place.
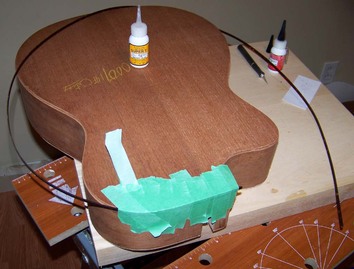
While I was gluing things, I also glued the little side crack I put in the guitar when doing the binding channels (see my last post for a pic).
While I was gluing things, I also glued the little side crack I put in the guitar when doing the binding channels (see my last post for a pic).
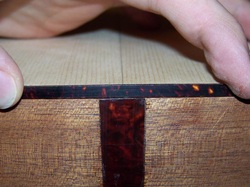
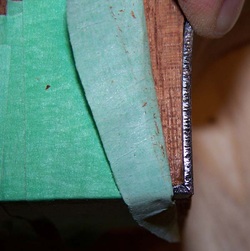
Next I trimmed the wedge flush to the binding channels and test fit a piece of binding to see how it looked on both the top.....
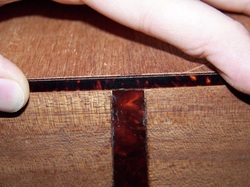
...and on the back!
There's different glues used for gluing binding - the trick is finding them in Canada! Some use Duco cement, but I could only find either Testors or Home Hardware house brand model cement which is what I bought. I glued a couple small pieces of binding to scrap pieces of spruce to see if it will form a good bond, but in the mean time I decided to glue the binding to the back using gap filling CA glue. You might wonder why I wouldn't use CA to bind the top. According to what I've read, spruce will soak up CA glue and becomes discoloured. This doesn't happen with dark woods like mahogany. If the cement I got doesn't work, then I'll have to put a thin layer of sealer (like shellac) in the top binding channels and then use CA glue.
There's different glues used for gluing binding - the trick is finding them in Canada! Some use Duco cement, but I could only find either Testors or Home Hardware house brand model cement which is what I bought. I glued a couple small pieces of binding to scrap pieces of spruce to see if it will form a good bond, but in the mean time I decided to glue the binding to the back using gap filling CA glue. You might wonder why I wouldn't use CA to bind the top. According to what I've read, spruce will soak up CA glue and becomes discoloured. This doesn't happen with dark woods like mahogany. If the cement I got doesn't work, then I'll have to put a thin layer of sealer (like shellac) in the top binding channels and then use CA glue.
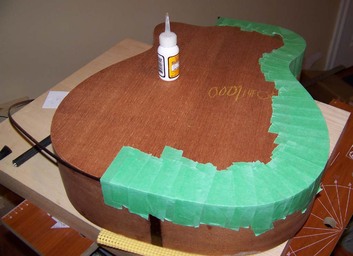
Before I started gluing the back binding, I did a quick test fit without glue. My pieces of binding are long enough that I can do the whole back with one piece of binding.
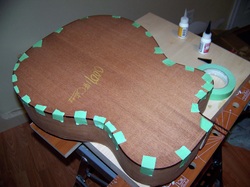
I got a ton of pieces of masking tape ready and started gluing in the binding. I spread some CA glue in the channel, then held the binding in place (while trying not to glue my fingers to the guitar! ha ha) and taped it. I kept working doing 3 to 4 inches at a time until I reached the cutaway.
I got a ton of pieces of masking tape ready and started gluing in the binding. I spread some CA glue in the channel, then held the binding in place (while trying not to glue my fingers to the guitar! ha ha) and taped it. I kept working doing 3 to 4 inches at a time until I reached the cutaway.
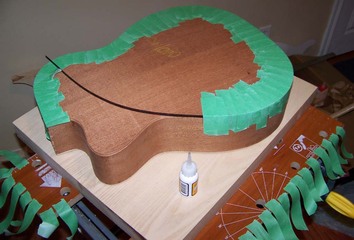
When I reached the neck block, I used a sharp chisel to miter both binding edges to about 45 degrees, then glued and taped it in place.
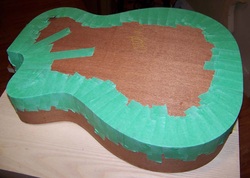
Here's a pic of all the binding glued in place. A couple hours after this pic was taken, I took off all the masking tape. I need to do a lot of scraping to get all the remnants of tape off but overall the binding looks good. I'll post more pics when I'm finished scraping the binding!
